
In the world of home improvement, achieving a flawless and lasting finish is key. When it comes to tiled surfaces, those unsightly gaps between tiles can detract from the overall aesthetic and even pose structural issues. But fear not! Filling these gaps, a process called grouting is essential for a beautiful and resilient tiled surface.
The Role of Grout
Grout is the most common and effective material for filling gaps between tiles. It not only enhances the aesthetic appeal of your tiled surfaces but also prevents water seepage, mould, and mildew growth.
Why Fill Gaps Between Tiles?
Beyond aesthetics, grouting offers several practical benefits:
1. Prevents Moisture Damage: Grout acts as a barrier, stopping water from seeping between tiles and damaging the subfloor or underlying structure. This is especially crucial for areas like bathrooms and kitchens.
2. Mildew and Mold Prevention: Moisture build-up between unfilled gaps can lead to the growth of mould and mildew. Grouting prevents this, promoting a healthy and hygienic environment.
3. Structural Integrity: Grout fills and stabilizes the space between tiles, preventing them from shifting or cracking under pressure. This ensures a stronger and more durable tiled surface.
4. Enhanced Appearance: Grout creates a clean and finished look, adding a touch of elegance and professionalism to your tiled area.
The Grout Game: Choosing the Right Option
Grout comes in various types, each with its own advantages and best uses:
Cementitious Grout: Cementitious grout is the traditional choice, made from a mixture of cement, water, and other additives like sand, fly ash, or latex. It comes in two main varieties
- Sanded Grout: Ideal for wider gaps (over 1/8 inch) in floor tiles or large wall tiles. Sand particles provide strength and durability.
- Unsanded Grout: Best for narrow gaps (up to 1/8 inch) in wall tiles or delicate surfaces like glass or polished stone. Its smooth texture creates a seamless finish.
Epoxy Grout: Epoxy grout, made from epoxy resins and a hardener, is highly durable, stain-resistant, and waterproof. It stands up well to chemicals, harsh weather, and climate changes, making it an excellent choice for high-moisture areas and heavy-use spaces. But it can’t be used for exterior and it is not UV resistant. For example, HomeSure TileEx Epoxy Grout effectively fills gaps and creates smooth, durable, and dust-proof tile joints. This three-pack grout is designed for use in ceramic, vitrified, and stone joints in residential and commercial settings such as shopping malls, swimming pools, hotel kitchens and bathrooms. It’s available in eight shades: Milky White, Platinum Grey, Pure Ivory, Jet Black, Smoke Grey, Hazelnut Brown, Choco Brown, and Terra Red.
Offers superior performance in high-moisture areas like bathrooms and kitchens.
Pro Tip: Always refer to the manufacturer’s recommendations for choosing the right grout based on your specific tile type, application, and desired finish.
Grouting Like a Pro: Mastering the Process
Now that you’ve chosen the perfect grout, let’s dive into the grouting process:
Step 1: Preparation is Key
– Clean Tiles: Thoroughly remove any dirt, dust, or debris from the tile surface using a damp cloth and a mild cleaning solution. Allow the tiles to dry completely before grouting.
– Protect Adjacent Surfaces: Apply masking tape to any areas surrounding the tiles that you don’t want to get grout on, such as countertops or baseboards.
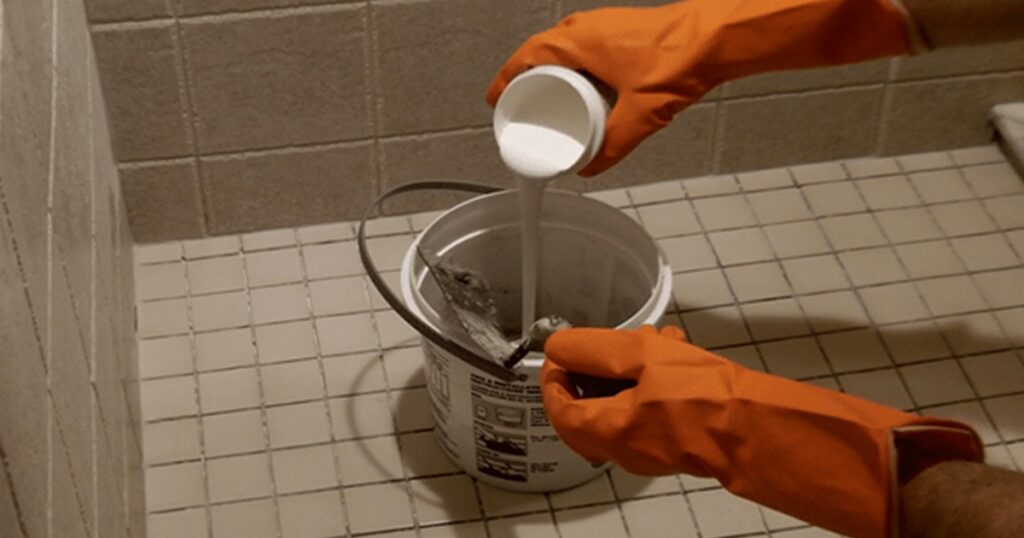
Step 2: Mix the Grout
– Follow the manufacturer’s instructions on mixing ratios and water content. Aim for a smooth, creamy consistency similar to thick peanut butter.
– Mixing Tip: Use a clean mixing bowl and drill with a grout mixing paddle for faster and more consistent mixing.
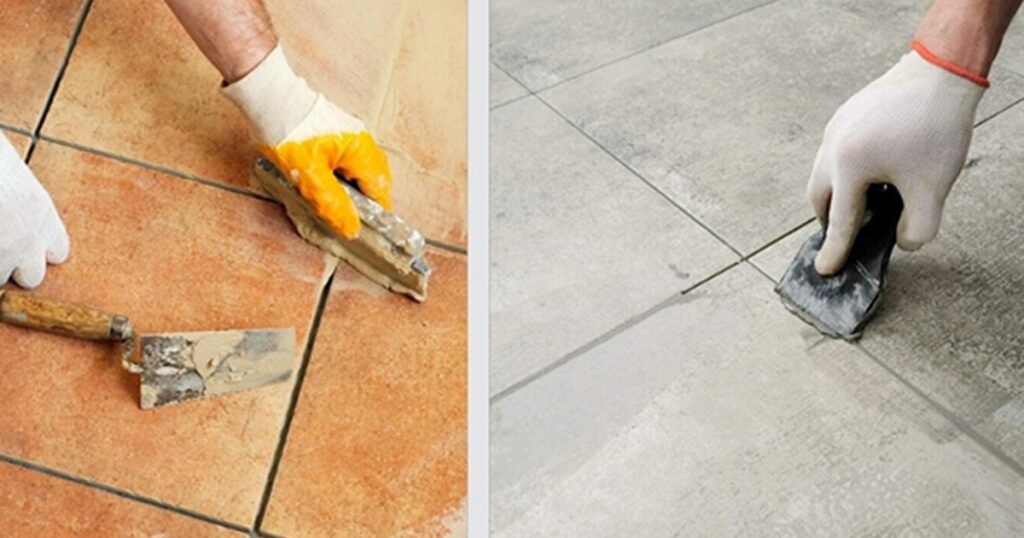
Step 3: Grouting in Action
– Apply the Grout: Use a grout float held at a 30 – 45-degree angle to press the grout diagonally across the gaps between the tiles. Ensure all gaps are completely filled. Work in small sections to prevent the grout from drying prematurely.
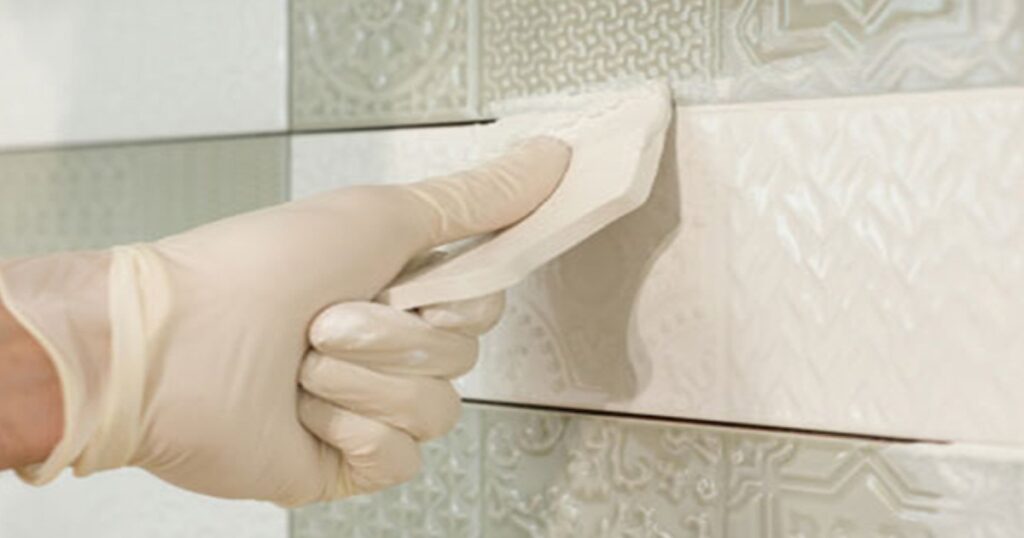
Step 4: Removing Excess Grout
– After filling the gaps, allow the grout to set slightly. Alternatively, you can use tape on both sides of the joints to avoid staining. Refer to the manufacturer’s recommended drying time before proceeding.
– Once the grout has set, use the edge of the grout float or a damp sponge held at a diagonal angle to carefully wipe away any excess grout from the tile surface. Work in a circular motion to ensure you don’t pull grout out of the gaps.
– Cleaning Tip: Frequently rinse your sponge in clean water to avoid spreading leftover grout and to keep the tile surface clean.
Step 5: Final Touches
– After the grout has completely dried (usually 24-48 hours), use a clean, damp cloth to buff the surface of the tiles and remove any remaining grout haze.
– Pro Tip: For a more professional finish, apply a grout sealer after the grout has completely cured. This additional layer helps to protect the grout from stains and makes it easier to clean.
Beyond the Basics: Inclusive Grouting Considerations
Grouting isn’t a one-size-fits-all solution. Here are some additional factors to consider:
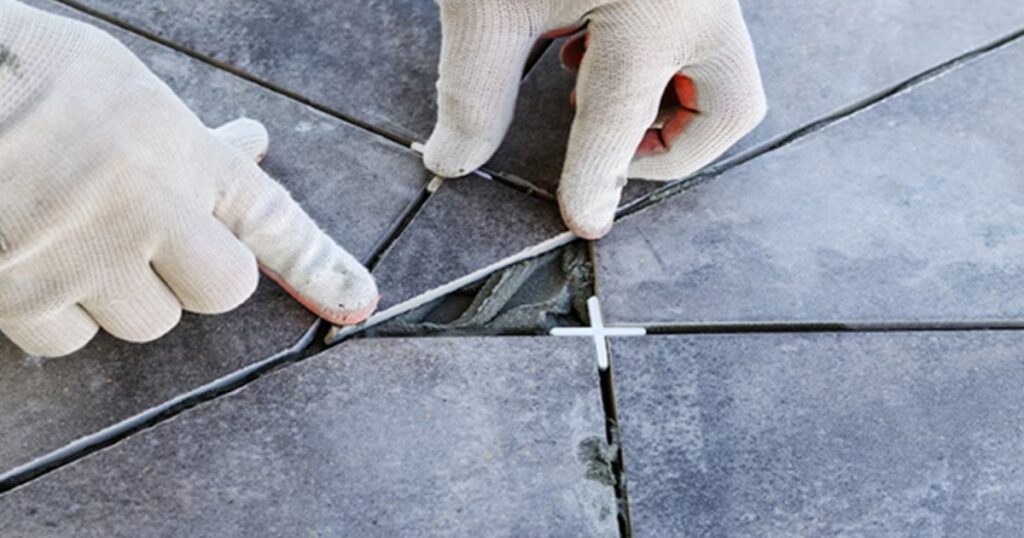
– Large Gaps: Gaps exceeding ½ inch might require backfilling with a suitable material like concrete or specialized filler before grouting.
– Uneven Surfaces: Uneven tile surfaces can make grouting more challenging. Consider using a grout float with a flexible rubber edge to better conform to uneven surfaces, ensuring even grout distribution.-
- Additional Grout Application: You might need to apply extra grout to areas where the gaps are deeper due to uneven tiles.
- Patience and Precision: Take your time and carefully work the grout into the gaps, ensuring full coverage.
- Consider Grout Thickness: Using a slightly thicker grout mix can help fill in irregularities.
- Multiple Passes: It might be necessary to make multiple passes with the grout float to achieve a consistent fill.
Remember, patience is key when dealing with uneven surfaces. By following these tips and using the right tools, you can achieve a satisfactory grout finish.