There’s something deeply satisfying about that precise click when a tile fits perfectly into place. But achieving this perfection is only possible when the right tile adhesive is chosen and applied correctly. Tile adhesive is the unsung hero—it keeps everything firmly in place, ensuring your tiles stay level, crack-free, and durable for years to come.
In India, where surface conditions and climate vary widely, incorrect use of tile adhesives often leads to loose tiles, cracking, or detachment. The good news? These issues are entirely avoidable.
In this article, we explore the most common tile adhesive mistakes and how you can avoid them.
1. Poor Surface Preparation
The Mistake: Skipping essential steps like cleaning, leveling, or priming the surface.
Why It Matters: Adhesives need a clean and stable base for proper bonding. Dust, oil, loose paint, or old coatings can act as barriers and prevent effective adhesion. Uneven surfaces cause stress points and result in hollow tiles.
The Fix:
• Clean the substrate thoroughly using a brush, vacuum, or pressure washer.
• Level uneven areas with appropriate levelling compounds
2. Choosing the Wrong Adhesive
The Mistake: Opting for the wrong grade of adhesives without considering tile type, size or area of application.
Why It Matters: Different tiles (ceramic, vitrified, glass stone) and substrates (concrete, gypsum board, plaster, existing tiles) require specific adhesive types.
The Fix:
• Use the appropriate type of adhesive based on surface and site conditions.
• Refer to the manufacturer guidelines for the correct adhesive. For instance, Walplast’s HomeSure TileEx range offers tailored options for different tile types and surfaces. One can also visit the www.walplast.com website and call or chat the experts free of cost.
3. Improper Mixing
The Mistake: Incorrect water ratio, manual mixing, or reusing partially set adhesive.
Why It Matters:
• Too much or less water will disturb the water/ cement ratio, resulting in a weak bond or cause settling time issues.
• Remixing adhesive will cause disturbance to both the fresh and already-set portions and other properties.
• Not doing back buttering/ notching
The Fix:
• Follow the mixing instructions in the manufacturer’s TDS.
• Follow the recommended water-to-powder ratio strictly.
• Only prepare as much adhesive as can be used within the pot life; also, need to maintain open time and adjustability time.
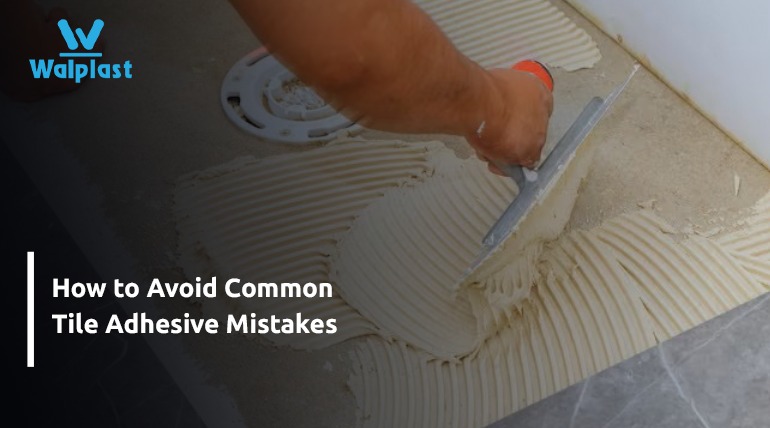
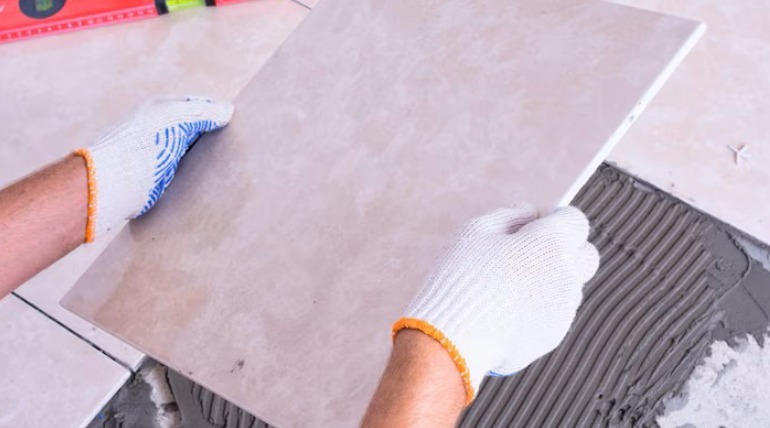
4. Faulty Application Techniques
The Mistake: Not using the notch trowel, applying insufficient adhesive, or not achieving full tile contact. Not fixing tiles with in open time.
Why It Matters: Inadequate coverage leads to air pockets and weak bonding, especially in large or heavy tiles.
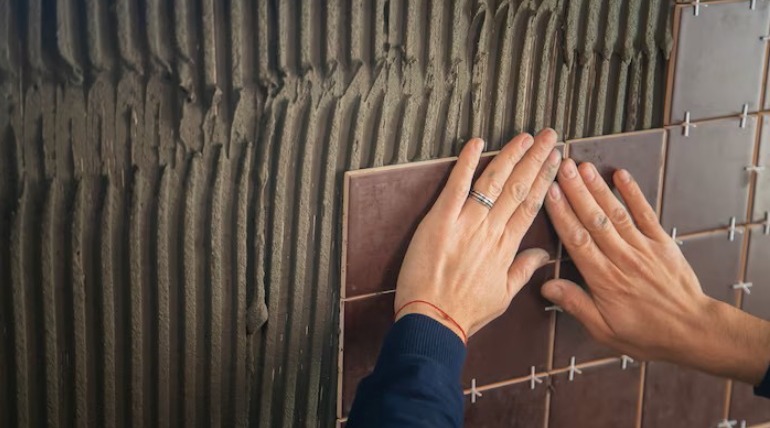
The Fix:
• Use a notched trowel to help bond and close air gaps.
• Apply adhesive evenly in straight lines at a 35 to 45-degree angle.
• Apply adhesive on both the substrate and the tile (back-buttering).
• Press and slightly twist the tile into place to eliminate air gaps within the adjustability time.
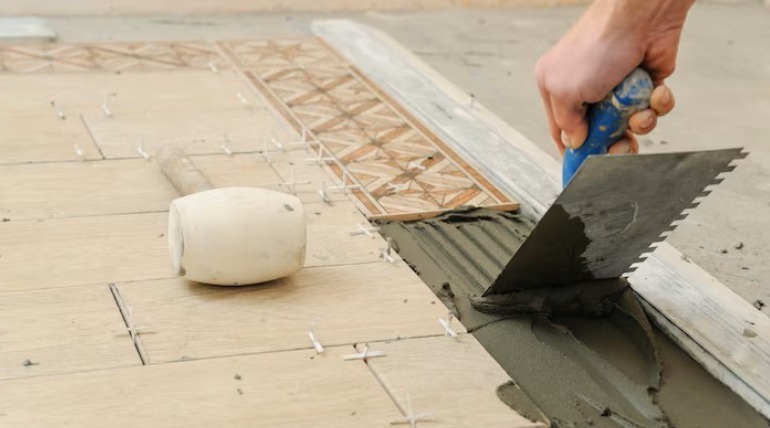
5. Ignoring Movement Joints
The Mistake: Overlooking the need for expansion joints in large or exposed tiled areas.
Why It Matters: Tiles and substrates expand and contract due to temperature and humidity changes. Without joints, this stress causes cracking or detachment.
The Fix:
• Use spacers during installation to maintain consistent joint width and allow for grout application.
• Add movement joints every 25–36 m² indoors and 9–16 m² outdoors.
• Place joints at perimeters, near columns, or around structural features.
• Fill with a flexible sealant to accommodate thermal movement.
6. Rushing the Curing Process
The Mistake: Walking on freshly laid tiles too soon or grouting before the adhesive sets.
Why It Matters: Premature movement weakens the bond, leading to hollow sounds or eventual tile failure.
The Fix:
• Follow curing times (typically 24–72 hours) as per adhesive specifications.
• Avoid foot traffic and grouting during this period to allow full bond strength to develop.
7. Neglecting Post-Installation Care
The Mistake: Using harsh cleaning chemicals.
Why It Matters: Chemicals degrade grout and may seep into the adhesive over time. Waterlogging leads to gradual weakening of the bond.
The Fix:
• Use pH-neutral cleaners for routine maintenance.
• Ensure proper drainage in wet areas like bathrooms.
• Address cracked grout or loose tiles promptly to prevent further damage.
Why Choose HomeSure TileEx by Walplast?
HomeSure TileEx tile adhesives are engineered for Indian site conditions. Whether you’re working with ceramic, vitrified, or natural stone tiles, this range delivers:
• Excellent bonding strength
• High workability and smooth application
• Long-term durability, even in wet areas
• Reduced material wastage and application time
Beyond adhesives, the TileEx range also features best-in-class Epoxy Grout and Cement Grout:
• TileEx Epoxy Grout offers excellent chemical resistance, waterproofing, and stain protection—perfect for bathrooms, kitchens, pools, and commercial areas.
• TileEx Cement Grout ensures strong adhesion, color consistency, and minimal shrinkage for general-purpose use.
Make the switch from traditional cement-based methods to a faster, cleaner, and more reliable tiling solution with HomeSure TileEx.
Final Thoughts
Laying tiles isn’t just a craft—it’s a commitment to durability and design. By avoiding these common adhesive mistakes and following best practices, you can ensure your tile installations are flawless and long-lasting.
Remember: The foundation of a perfect tile job starts with the right tile adhesive, proper technique, and a little extra care.